
The Library, application in Django 1.8 | Part II
- The Library, application in Django 1.8 | Part I
- The Library, application in Django 1.8 | Part II
- The Library, application in Django 1.8 | Part III
- The Library, application in Django 1.8 | Part IV
- The Library, application in Django 1.8 | Part V
- The Library, application in Django 1.8 | Part VI
- The Library, application in Django 1.8 | Part VII
In today’s entry we continue with the second part of our Django application, until now we have our project (called sitelecture) and our application (called library) created and registered correctly, today we are going to focus on the app models and Django offers us enormous facilities for this purpose. I assume that you already know what models are in a software application, but however, out of respect, I will say using the textual definition that:
The Model is the representation of the information with which the system operates.
The models, then, are the definitions of our database (roughly speaking). In our application we will assume that a Book can have more than one Author, and an Author can write more than one Book (ManyToMany relationship between Book and Author), we will also assume that a Publisher can distribute many Books, but a Book can only be distributed by a single Publisher (OneToMany relationship between Book and Publisher, also known as ForeignKey). Our tables (entities) in the database will then be Book, Publisher and Author with the relationships described above. With that said, let’s get started.
Create our initial database:
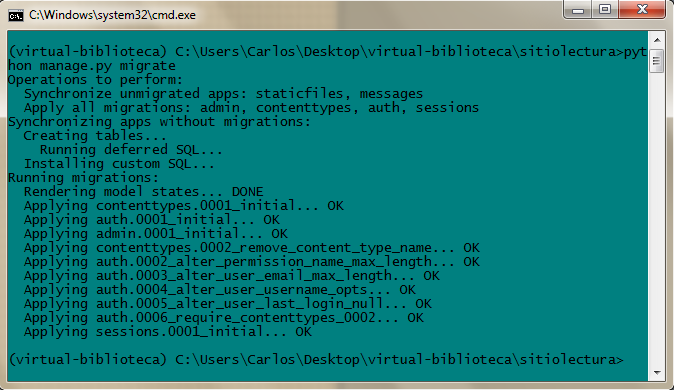
As I said in the previous post, Django installs some convenient apps by default that help us with a lot of things (users, permissions, groups, admin, etc.), these default apps also have their models. To create your database, open the terminal and go to the directory where the manage.py file is located, in my case it is: C:/users/Carlos/Desktop/virtual-biblioteca/sitiolectura and place the following: python manage.py migrate.
This command will create a database with the models defined in the default apps, so if you are curious you will see in this first DB there will be tables called auth_user, auth_group, django_session, etc. It should be added that the database will be located in virtual-library/sitiolectura with the name db.sqlite3
Things to say here:
-
The database management system that Django uses by default is SQLite, so your DB will be built in SQLite.
-
You may want to download a Mozilla plugin to manage SQLite databases, it will make your life a lot easier.
-
In addition to SQLite, Django also supports management systems such as MySQL or PostgreSQL, if you want to work with any of them, you can read the documentation about it.
-
If you want to change the name of your DB, it is recommended that you go to
settings.pyand change such configuration, like this:
DATABASES = {
    'default': {
        'ENGINE': 'django.db.backends.sqlite3',
        'NAME': os.path.join(BASE_DIR, 'library.sqlite3'),#you change db.sqlite3 to, for example, library.sqlite3
    }
}
Create our data model
Now that we have created our initial database, we will create our own data model for our library. Go to the library folder and open the models.py file, this file will be where the definitions of our models for this app will go, inside this file place the following:
#library/models.py

from django.db import models

class Editor(models.Model):
	'''A publisher has a name, an address, a city, a state, a country and a website'''
	name = models.CharField(max_length=30)#the name attribute will have a maximum of 30 characters
	address = models.CharField(max_length=50)
	city = models.CharField(max_length=60)
	state = models.CharField(max_length=30)
	country = models.CharField(max_length=50)#the country attribute will have a maximum of 50 characters
	website = models.URLField()

def __unicode__(self):#__str__ for python 3
		return self.name
#________________________________________________________________________________
class Author(models.Model):
	'''An author has a first name, a last name and an email'''
	name = models.CharField(max_length=30)
	lastname = models.CharField(max_length=40)
	email = models.EmailField(blank=True)#The DB will accept empty values for this attribute

def __unicode__(self):#__str__ for python 3
		string = "%s %s" %(self.firstname, self.lastname)
		return string
#________________________________________________________________________________
class Book(models.Model):
	title = models.CharField(max_length=100)
	authors = models.ManyToManyField(Author)
	editor = models.ForeignKey(Editor)
	publication_date = models.DateField()
	cover = models.ImageField(upload_to = 'covers/') #Create a folder called covers, where you will save the book cover images, in the end the image will have to be uploaded to: media/covers/, we will see about that later
	synopsis = models.TextField(blank=True)

	def __unicode__(self):#__str__ for python 3
		return self.title
This file gives Django a lot of information regarding our DB. Each class specified in models.py will be translated as a table in the database, and each class attribute will be translated as a table column. Additionally, each class instance will be translated by Django as a database record.
Things to say here:
-
Django automatically gives each table in our database a primary key, which will be called
id. -
The tables created will follow the format
<name_app>_<name_class>, so forBook, its corresponding table in the DB will belibrary_book. -
Each class attribute is an instance of the models class, I leave you the list of the types of attributes available (there are integers, binary type, date type)
-
The
__unicode__method will help us identify the object with which we are interacting, if you don’t understand it now, don’t worry, later you will see the usefulness of this magical method. -
the
editorattribute in theBookclass refers to theEditorclass as it is a foreign key. -
for ManyToMany attributes, such as
authorsin theBooksclass, Django automatically builds an intermediate table to access the attributes of both, in our case said table islibrary_books_authors
We already wrote the data model, but we haven’t told Django to do its thing, the tables and everything else haven’t been created yet, let’s change that.
Activate the data model in the database
We open a terminal and go to the directory where manage.py is located, then we write:
python manage.py makemigrations, you should get something like this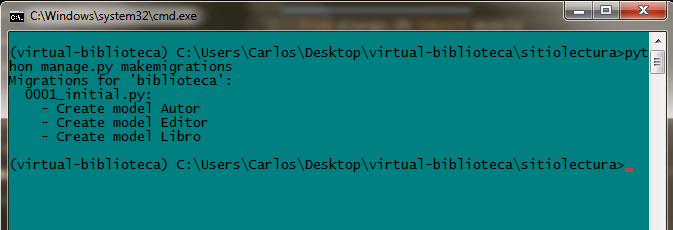
Up to this step we have made the migrations of our models, but the changes have not yet been applied to our DB (for those who have worked with GIT, you can think of this as if we had made a “commit”, but not the “push”), you can see that in the migrations folder there is a file, our first migration. Our information is ready to be inserted into our DB in the form of SQL.
-
if you want to see the SQL generated from our models, type:
python manage.py sqlmigrate library 0001. This command is useful to know the actions that we are going to introduce in the form of SQL in our DB before doing so. -
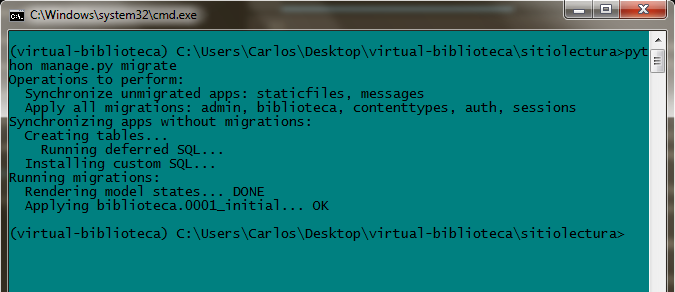
Now we are going to make the changes effective. Put
python manage.py migrate, with this we will have modified the DB.
LET’S REMEMBER: the 3 steps to make changes to the database are:
-
Change something in our models (in
models.py). -
Run
python manage.py makemigrationsto create the migrations corresponding to those changes -
Run
python manage.py migrateto apply those changes to the database.
And that’s all, if you have any questions or problems about it, you can let me know below in the comment box. Thanks for reading and commenting.
print("See you soon")Translated using GPT 5.3 Codex